
Peppermint Cookie Scones
Growing up, I was never a scone person. I would never walk into a bakery or coffee shop and order a scone with my latte. They just weren’t ever my forte. Just maybe, it had to do with one experience with an incredibly sad scone at a restaurant way back when. I hate to say this restaurant ruined them for me, but I was just never as intrigued. I saw them as flakey.. dry.. and I am sorry, but I would way rather take something full of chocolate.
Well, looking back, I realize this was young and naive of me and that I have been missing out all of these years. So friends, don’t let one bad experience steer you away from anything. Always give it a second go! Ha!

I have come to the realization that I have definitely been missing out all of these years.. because scones are damn good when done right. And they are a nice change-up from having muffins and cookies around 24/7. I had never attempted scones prior, so I went on a creative journey to whip up some tasty ones and I was so happy with how these turned out!
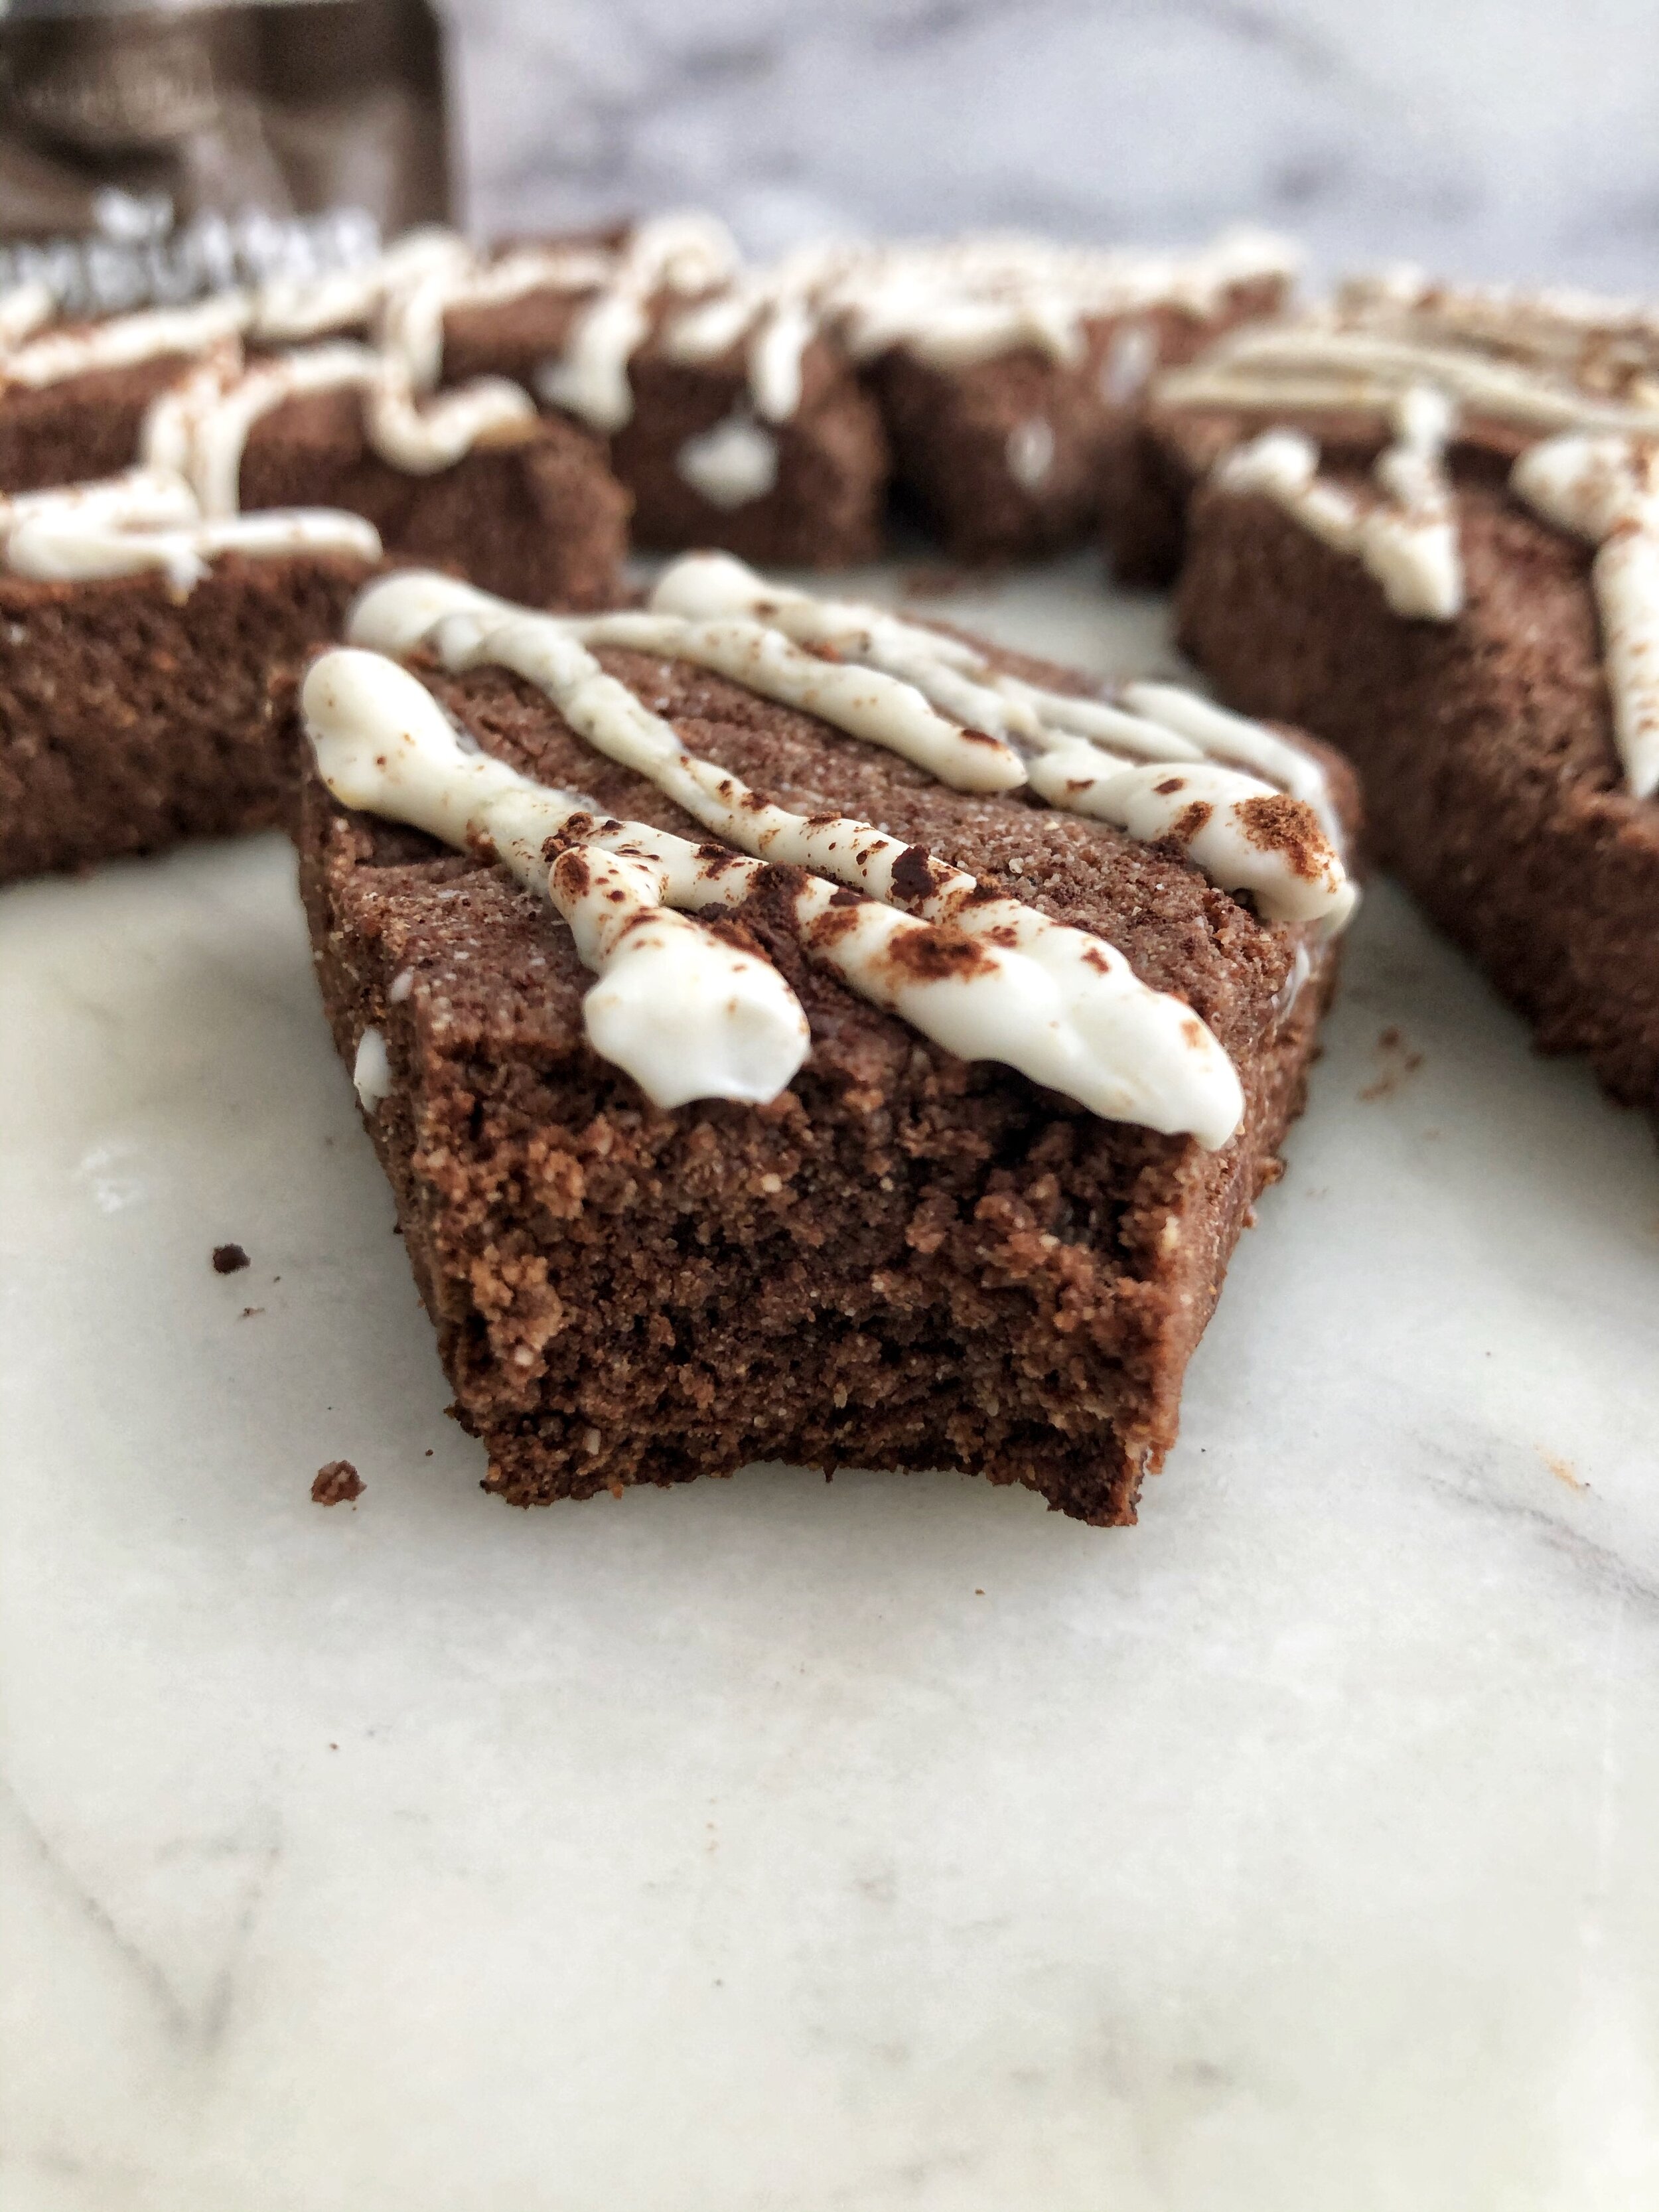
They are the perfect ratio of chocolate and peppermint and, especially warmed up, delightful. I topped them with a little cashew cream drizzle which took them further over the top. Almost cookie like, but in scone form. I hope you guys enjoy these as much as we did!
Ingredients:
2 1/3 cups almond flour
3/4 cups tapioca flour (or arrowroot)
1 1/4 tsp baking powder
1/2 tsp sea salt
1 tsp peppermint extract
1/4 cup cacao powder
1/3 cup maple syrup
1/2 cup melted coconut oil
1/3 cup canned coconut milk
1 flax egg (1 tbsp flax seeds mixed with 3 tbsp water)
For the glaze:
1/2 cup soaked cashews
1 tbsp maple syrup
1 tbsp coconut milk (or water)
1/4 tsp vanilla extract
How to:
Preheat oven to 375F.
Combine all wet ingredients in a blow. Whisk to combine.
In a separate bowl, sift/whisk together the dry ingredients. Slowly add in the went and mix until combined.
Line a circle cake pan with parchment paper and press the dough into it evenly. Place in the fridge for 30 or so minutes to let it firm up a bit.
Remove from the fridge and cut into triangles. Place each triangle on a parchment lined baking sheet and bake for 25-30 minutes or until cooked through. Remove from the oven and allow to cool.
To make the cream, simply blend everything in a food process or blender until completely smooth. Pour the cream into a piping bag (or just spread it on those bad boys!) and drizzle away.
Keep them stored in a container, preferably in the fridge to preserve texture/freshness! Enjoy!